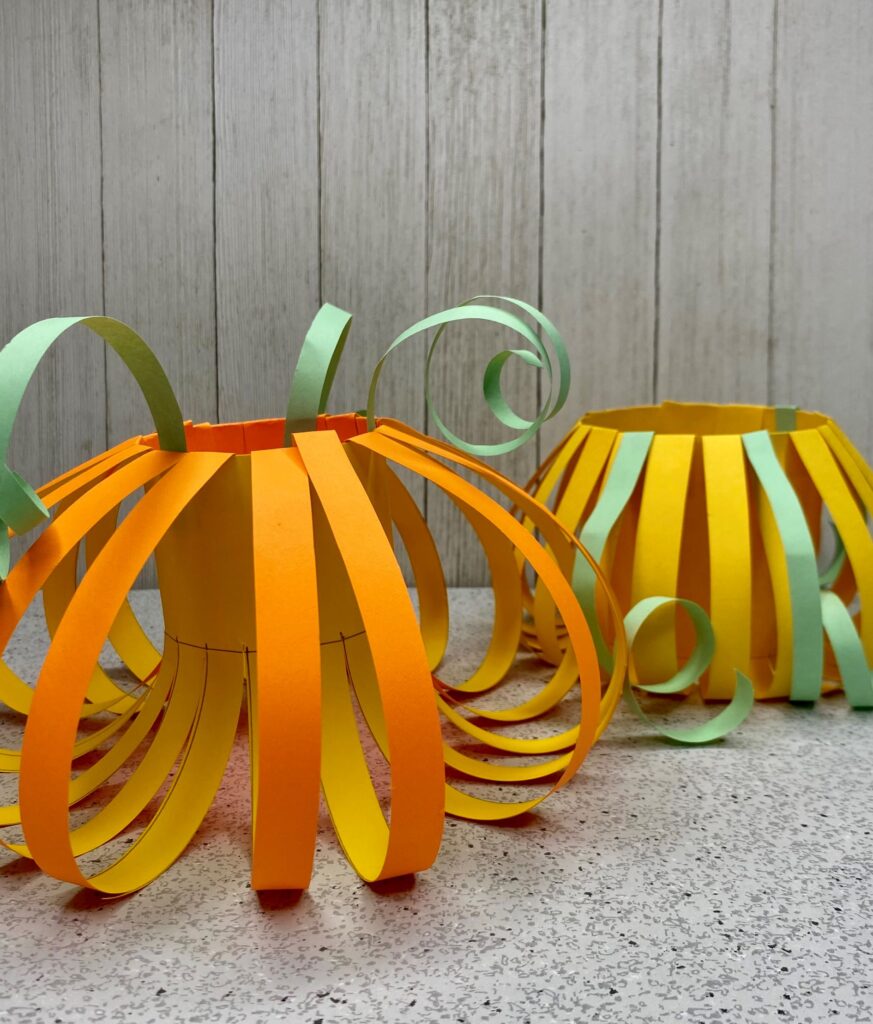
This super easy Fall Halloween Pumpkin craft is the perfect way to prepare your upper elementary classroom for the fall!
As we race into October, our classrooms change from Back to School to Halloween Crafts very quickly.
If you are a non-crafty teacher like me, here is an easy Halloween Pumpkin Craft that I do with my fifth graders.
These easy Halloween Pumpkins turn out adorable and use the supplies you have on hand.
Halloween Craft Supplies
- Paper – I have made these super large with construction paper in a kindergarten class, and I have made them with my fifth graders using colorful (orange, yellow, dark red) copy paper.
- Ruler
- White Glue or Glue Stick
- Scissors
- Pencil
Halloween Craft Directions
Once you have decided on the paper type, you will need to determine whether you will have your students use a ruler to draw the lines themselves or if you will make a master page for copying.
To make a master, use a sharpie on a white piece of paper that you can run through the copier. If you do not have a copier that will take card stock or construction paper, you may have to grab some parent volunteers to help.
The beauty of this Halloween Craft is that you can draw the lines in either direction (landscape or portrait). The piece you do not draw lines on will become the “core.” This will determine how short or tall your pumpkin is. The longer the “fringe,” the wider the pumpkin. You may want to experiment with a few to see which one you like best!
Prep
Turn the paper portrait and draw lines down the paper approximately ½ inch apart.
Steps
If you have made masters for your students, skip to step 4.
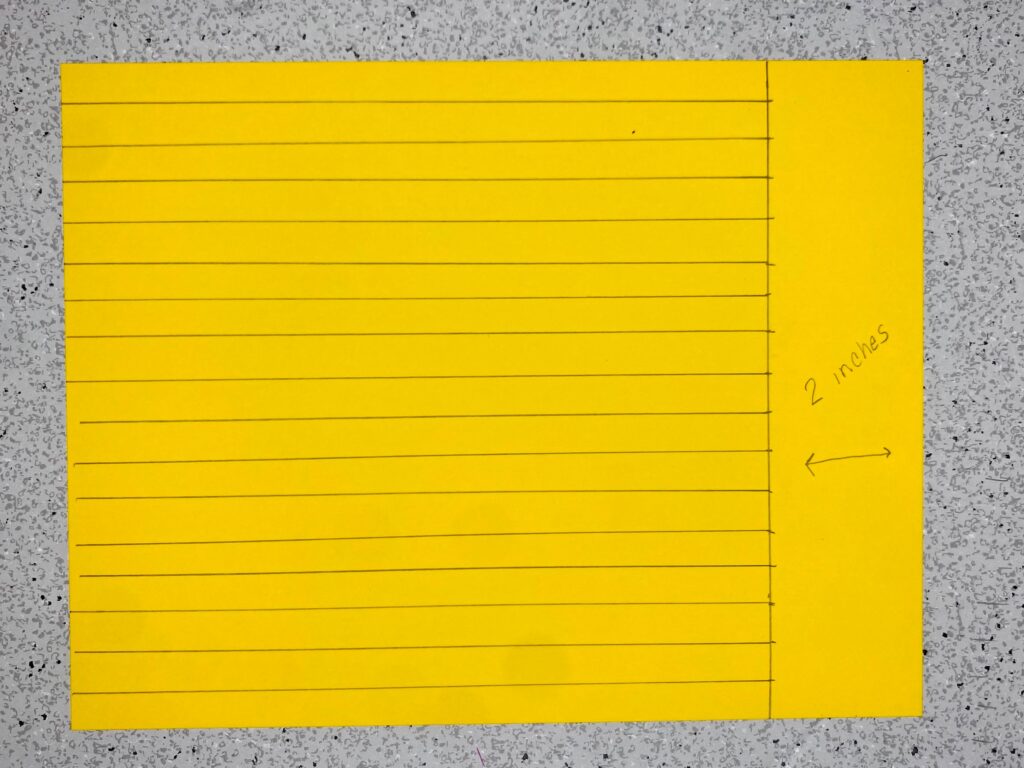
These dimensions are for a paper that is 8.5 in by 11 in. If you use a different piece of paper, please adjust it to your liking.
Have students choose their Halloween Pumpkin color.
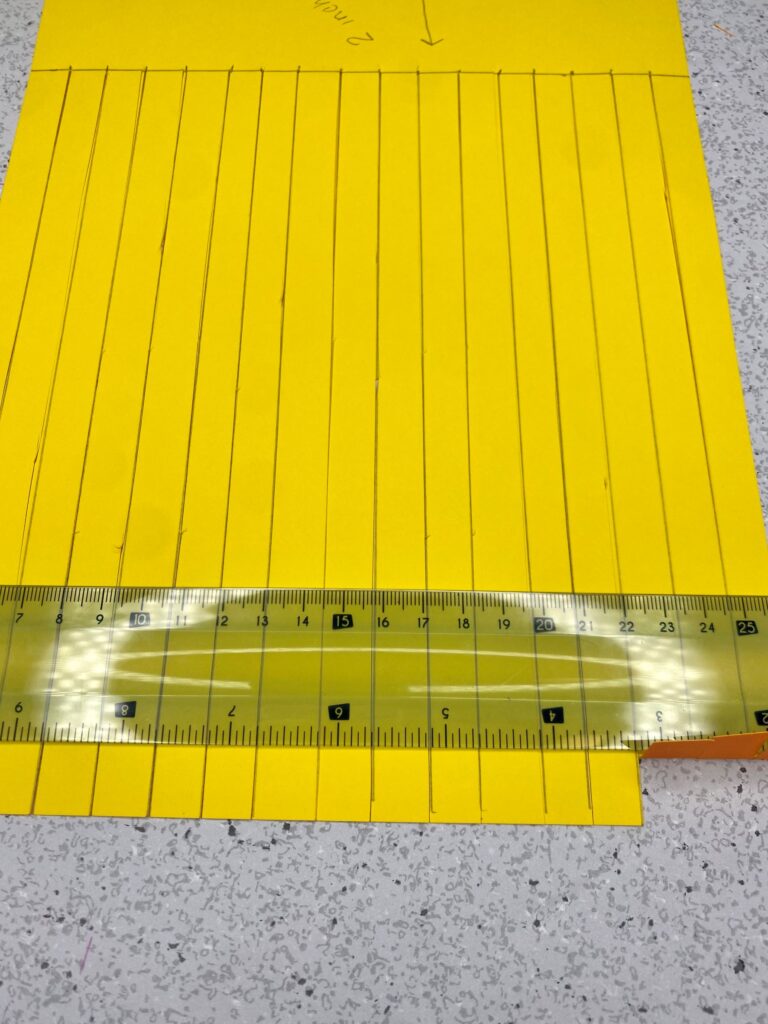
Have students turn their paper landscape and draw a line approximately 2 inches from one side.
Have students turn the paper portrait and draw lines down the paper approximately ½ inch apart.
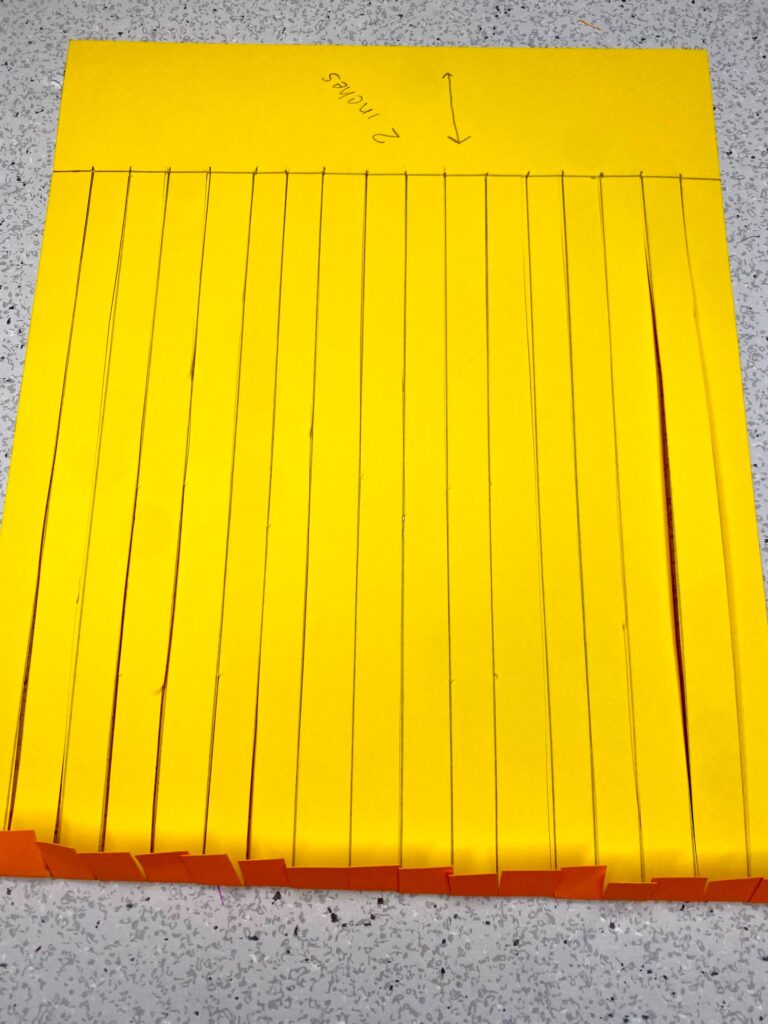
Students cut along the lines that are close together, stopping at the solid lines. This will make “fringe.”
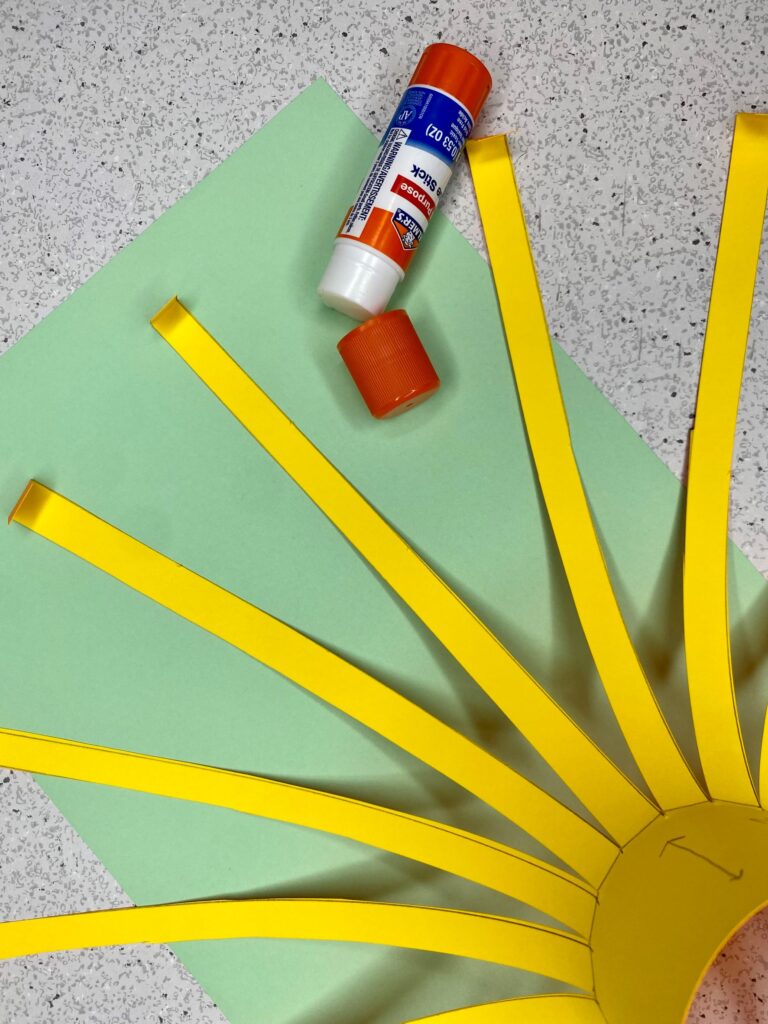
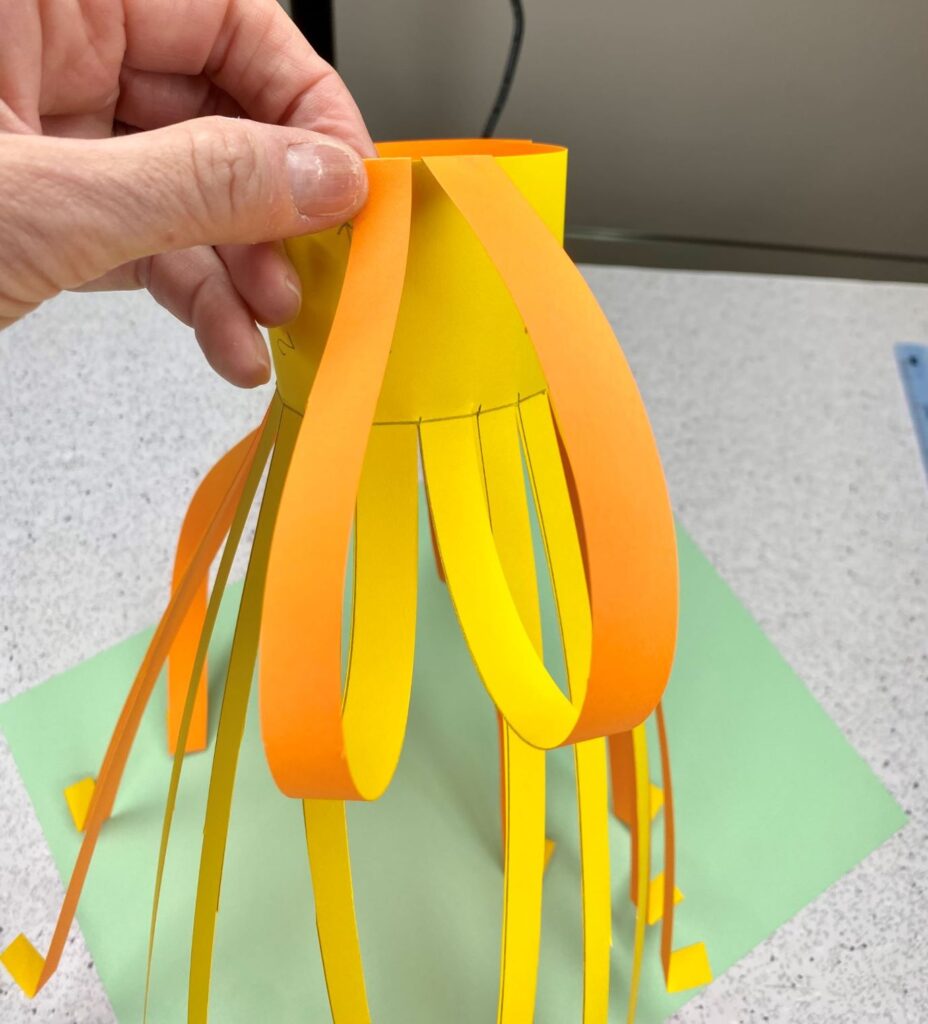
Students roll the paper until it overlaps slightly. I tape the ends together; however, you could also use glue.
One by one, take each fringe and fold it over the top of the paper roll. Squeeze slightly so that the glue sticks. Continue doing this until the “fringe” is on the top. It should begin to look like a pumpkin by now.
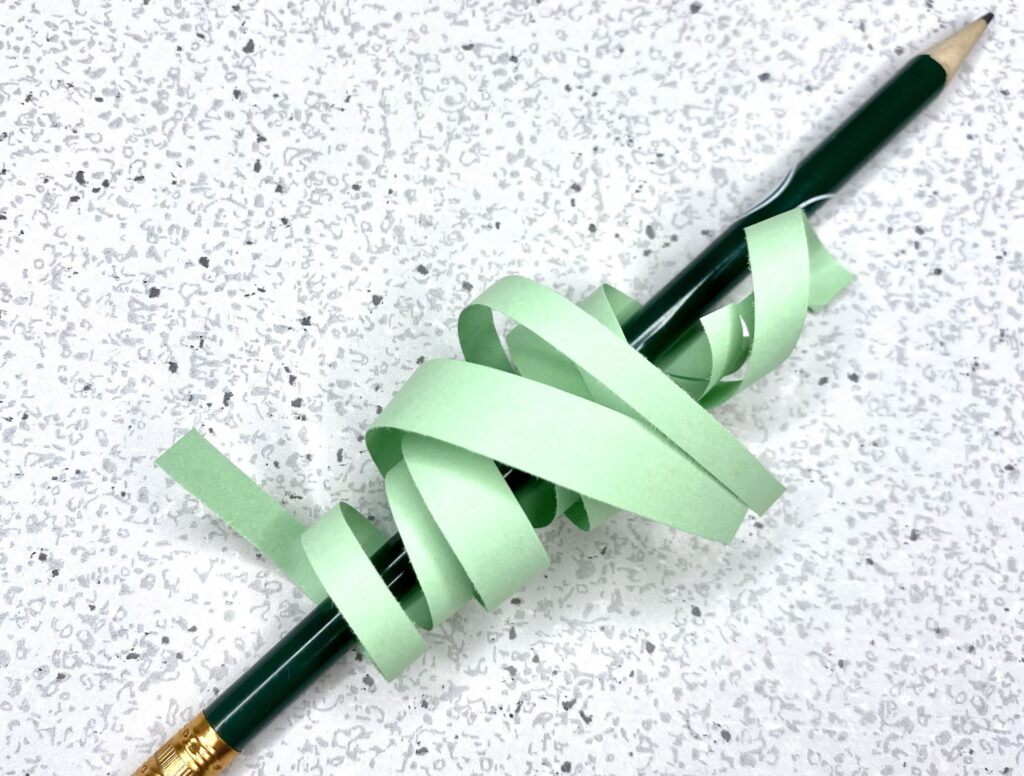
Take three or five small strips of green paper. Roll the strips around a pencil until they are curly. Glue them inside the pumpkin.
Need some Halloween Printables to help calm the chaos you know is coming? Check these out in my TPT store!