
If you’re wondering what order to teach multiplication facts, here’s the short answer: teach them by strategy, not by number. Start with the 0s and 1s, then the 2s, 10s, 5s, 11s, 4s, 8s, 3s, 6s, 9s and 12s, and save the 7s for last. By the time you get to the 7s, the only new fact left is 7 × 7.
Most of us learned our facts in a straight line. The 0s, the 1s, the 2s, the 3s, the 4s… and a whole lot of memorizing along the way.
I’m Tina Kolley, and in over 20 years in the classroom, mostly teaching upper elementary, I found a different way that worked so much better for my students. In this post, I’m going to show you the exact order I use, how I teach each group, and why each one sets up the next.
Why I Stopped Teaching Multiplication Facts in Number Order
My school used to do multiplication fact mad minutes. I hated them, and so did a lot of my kids.
I wasn’t alone in that feeling. Stanford math education professor Jo Boaler has written that timed tests can trigger math anxiety, and estimates suggest at least a third of students feel extreme stress during a timed test, no matter how strong they are in math.
So I changed the order. Instead of drilling the facts from 0 to 12, I taught them in groups that build on each other, with a strategy for every group. Kids learned to break a hard fact into easier facts they already knew.
Here’s what happened. “My students became problem solvers, not just memorizers,” and the strategies actually helped embed those facts into their memories. I also saw fewer blank answers on papers, because kids finally had a way to get started.
🎁 Free download: Want some straightforward multiplication fact practice worksheets? Grab them here.
The Best Order to Teach Multiplication Facts at a Glance
Here’s the order I use for the facts 0 through 12, with the reason behind each group.
- 0s and 1s (equal groups and two easy properties)
- 2s (most kids can already skip count by 2s)
- 10s (a clear pattern and a place value lesson)
- 5s (another skip counting wonder)
- 11s (an easy pattern and a first taste of partial products)
- 4s (double the 2s)
- 8s (double the 4s)
- 3s (repeated addition)
- 6s (double the 3s)
- 9s (10 minus 1)
- 12s (10 plus 2)
- 7s (only one new fact left!)
Notice the patterns? 2, 4, 8. Then 3, 6, 9, 12. Each new group leans on one your child already knows. (I’ve sometimes switched the 10s and 5s, and that works too.)
This order also lines up with what kids are expected to learn. The Common Core third grade standard says that by the end of the year, students should know all one-digit products from memory, using strategies and properties of operations to get there.
How to Teach Multiplication Facts One Group at a Time
Each step below is how I taught that group in my classroom, with the examples I used with my students.
Step 1: Start with the 0s and 1s (Not the 2s)
The 0s and 1s come first because the patterns are so easy, and they’re perfect for showing what multiplication really means: equal groups.
Take 1 × 6. That’s one group with six things. Flip it to 7 × 1, and that’s seven groups with one thing in each. From there, the identity property makes sense: any number times 1 is itself.
The 0s work the same way. When you think of multiplication as “groups of,” it explains why any number times zero is always zero. 0 × 4 is zero groups of four. You can’t have anything! And 6 × 0 is six groups with zero items in each. That’s the zero property, and kids can actually picture it.
Step 2: The 2s, 10s and 5s (Skip Counting Wins)
Next come the 2s, because just about all my students could skip count by 2s all the way up to 24. They already knew the multiples, and they knew the answer had to be an even number.
The 10s are next. Most kids can skip count 10, 20, 30, 40, and the pattern is very distinct. We tell kids to “add a zero,” but I always explain what that really means: the digit moves to the next place. In 6 × 10, six ones become six tens.
Then the 5s, another skip counting wonder: 5, 10, 15, 20, 25, 30, all the way up. If your child is stronger with 5s than 10s, teach the 5s first.
Step 3: The 11s (Your First Partial Products Lesson)
This is where my order is a little different from most. I teach the 11s early because the pattern is easy, and it gives kids a big boost of confidence.
When the other factor is 1 through 9, you just repeat the number. 8 × 11 is 88. 2 × 11 is 22.
For larger numbers, the 11s become a first lesson in decomposing, or partial products. Since 11 is really 10 + 1, and kids already know their 10s and their 1s:
11 × 12 = (10 × 12) + (1 × 12) = 120 + 12 = 132
It’s such a doable lesson, and it’s the same thinking behind the distributive property of multiplication. Kids will lean on partial products again when they move into double digit multiplication and higher level math.
Step 4: Double It with the 4s and 8s
The 4s are simple once kids know the 2s: if you can multiply by 2, you can multiply by 4. Just double it.
Stuck on 4 × 9? Make it 2 × 9 plus 2 × 9. That’s 18 + 18, which is 36.
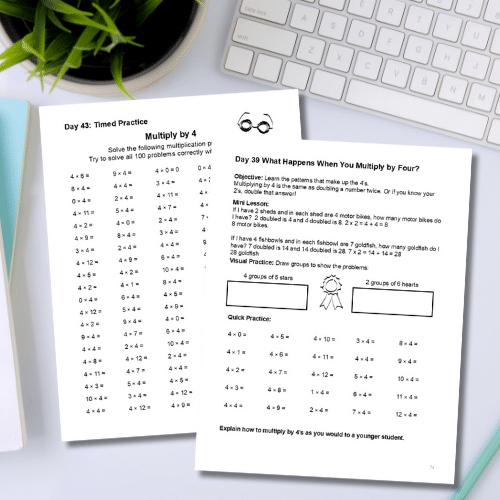
Then the 8s, because if you know your 4s, you know your 8s. The 8s are your double doubles. For 8 × 7, do 4 × 7 plus 4 × 7, which is 28 + 28 = 56. And if 4 × 7 won’t come? Go down one more level: 2 × 7 is 14, double it to 28, and double that to 56.
Teacher tip: make sure kids truly understand the words double and triple before you start this step. The whole strategy depends on them.
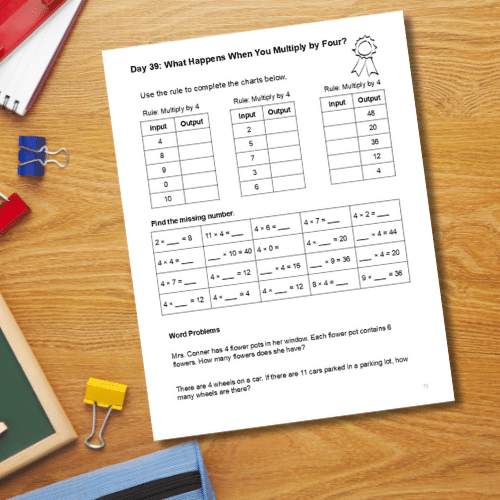
This is exactly how the 4s are taught in my 99 Days to Multiplication Mastery workbook, where the facts are grouped by pattern instead of number order.
Step 5: The 3s and 6s
Some kids come in able to skip count by 3s, but usually not very high. Maybe 3, 6, 9, and that’s as far as they go. So I teach the 3s as repeated addition. By this point, kids have been adding three numbers for a long time.
3 × 4 is three groups of four, or 4 + 4 + 4 = 12. You can also decompose the 3 into 2 + 1: (2 × 4) + (1 × 4) = 8 + 4 = 12.
For the 6s, we go back to doubling. If you know your 3s, you can double them. 6 × 5 becomes 3 × 5 plus 3 × 5, which is 15 + 15 = 30.
Another way is partial products with 5 + 1: 6 × 5 = (5 × 5) + (1 × 5) = 25 + 5 = 30. Two strategies, same answer, and kids get to choose the one that makes sense to them.
Step 6: The 9s and 12s
The 9s are actually kind of fun in a nerdy sort of way. One strategy is to break 9 into 10 minus 1 instead of addition:
9 × 7 = (10 × 7) − (1 × 7) = 70 − 7 = 63
Some kids get this right away and some don’t, so find out who it works for. Others would rather break 9 into 4 + 5 or 6 + 3, facts they’ve already done. By the time kids reach the 9s, they should have quite a few strategies under their belt. And here’s a fun check: for 9 × 1 through 9 × 10, the digits of the answer always add up to 9 (63 → 6 + 3 = 9).
Then the 12s, and you can see the pattern again: 3, 6, 9, 12. The easiest way is to break 12 into 10 + 2. So 12 × 3 = (10 × 3) + (2 × 3) = 30 + 6 = 36.
Step 7: Save the 7s for Last
The 7s are probably one of the hardest groups of facts to learn. But if you’ve come this far, the only 7s fact left is 7 × 7. Every other one, your child already learned with the 0s, 1s, 2s, 3s, 4s, 5s, 6s, 8s, 9s, 10s, 11s and 12s.
Stuck on 7 × 3? Switch it around. It’s a 3s fact.
For 7 × 7, kids can memorize it, or you can challenge them to decompose. Ask, “What’s the best way to break apart 7?” I like 5 + 2: (5 × 7) + (2 × 7) = 35 + 14 = 49. You could also use 3 + 4: (3 × 7) + (4 × 7) = 21 + 28 = 49. Even 7 × 8, the fact that gets everybody stuck, can become 7 × 4 plus 7 × 4.
The Mistake to Avoid: Memorized Isn’t the Same as Understood
Here’s the biggest mistake I see: thinking that because a child has their facts memorized, they understand multiplication. Memorized facts don’t mean a child knows what multiplication means or how the process works.
That understanding matters later. In the 2024 NAEP math results (the Nation’s Report Card), 24% of fourth graders scored below NAEP Basic. Kids who can break numbers apart and put them back together have something to fall back on when a fact slips their mind.
One rule made a huge difference in my classroom: before you ask for help, you have to have something down on your paper. A drawing, an equation, something. That one rule gave so many of my students a starting place, and it cut down on kids not even trying a problem.
Teaching this way probably takes a little more time. I think it’s worth it, because multiplication stops being something kids just sit and stare at. If you’re working at home, my post on helping your child learn multiplication has a quick daily routine, and these ideas for fun multiplication facts practice keep the review going.
Your Turn: Try One Strategy This Week
Pick the next group of facts your child or class is working on, and teach the strategy before the drill. Doubling for the 4s, 10 plus 1 for the 11s, or 10 minus 1 for the 9s. Then ask them to explain it back to you.
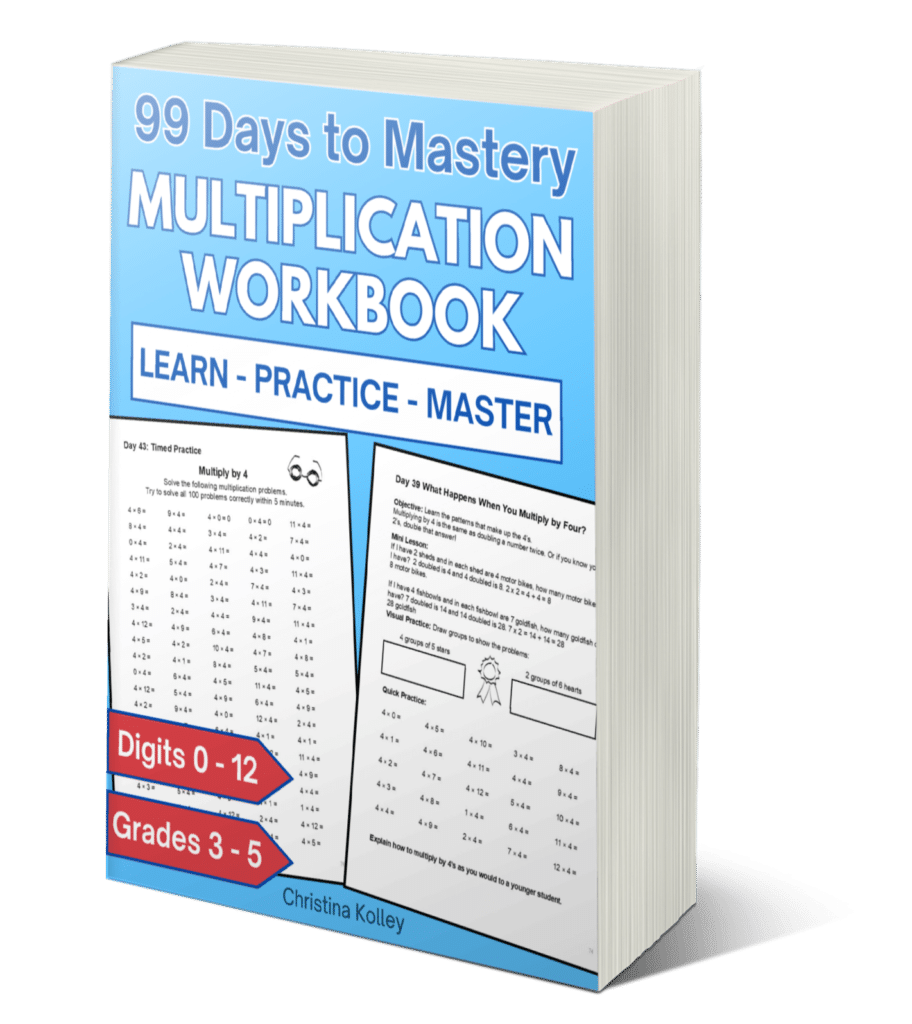
If you’d like the whole order laid out for you, my 99 Days to Multiplication Mastery workbook walks kids in grades 3 to 5 through the facts 0 to 12 by pattern, with teaching pages, practice and a full answer key.
It’s just a matter of practicing. Your kids already have the skills.
You may also like these blog posts: want some festive review? Try these Thanksgiving multiplication practice ideas, then see why I love partner color by code activities.